A Closer Look at Episode 1
June 25, 2020
Perseverance vol.6

Viktor Peter
CEO & Head of Game Design
Welcome to the next installment of our Perseverance designer blog series. After going over the birth of the theme and the episodic concept in my previous posts, let’s take a closer look at Episode 1 today!
Starting the story shortly after the first survivors emerged from the wrecked ship, the first Episode’s goal is to set up the Perseverance saga both thematically and mechanically. When we decided on the episodic approach and started designing, we knew what we were working towards (Episode 3), and we had a solid core mechanism (dice drafting and dice placement). This made the design look fairly easy at first glance, but we quickly realized that our two design goals with this Episode are somewhat contradictory, and finding the right balance will actually be pretty tough:
1) It has to be a standalone game in its own right, and not a “tutorial/beginner” version of later Episodes. This is the basic principle of our episodic concept, true to all games in the series: they share the same core mechanism but each one has a distinct identity and game feel, as well as many components unique to that Episode (such as the main board).
…but at the same time,
2) It has to be the first step of the mechanical build-up to the subsequent Episodes!
So all in all, the challenge was to make Episode 1 a deep and smart game with significantly lower mechanical complexity than EP3. We needed a game that’s interesting for our core audience but is also accessible enough not to dissuade players new to our games. A game that’s satisfying on its own, but makes you look forward to what’s next. Sounds easy, right…? 🙂 Still, after over a year of design and development, I believe we have a game on our hands that manages to tick all those boxes. Let’s take a closer look!
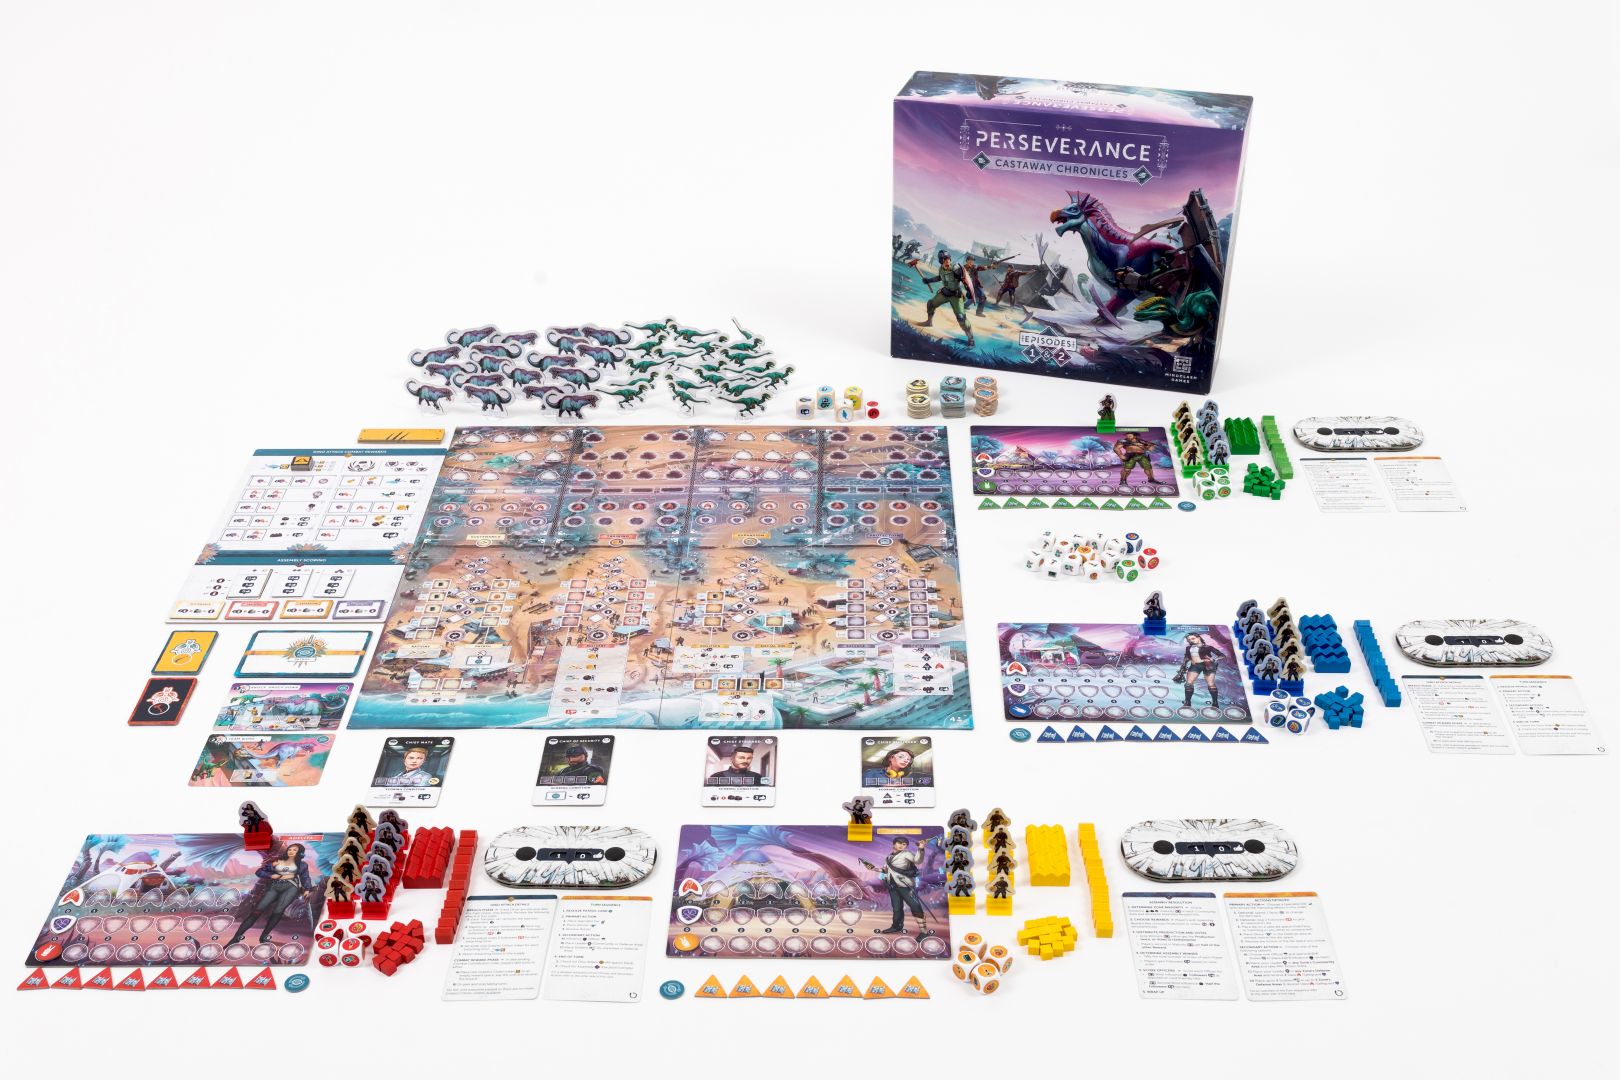
All pictures in this post portray a prototype of Episode 1, the final product will differ
In Episode 1, just like the other games in the series, things are happening on two fronts simultaneously:
1) Building the city of Perseverance and partaking in its power struggles, and
2) Interacting with the hostile island and the dinosaurs.
The first one works very similarly in every Episode, while the second is different and unique to each.
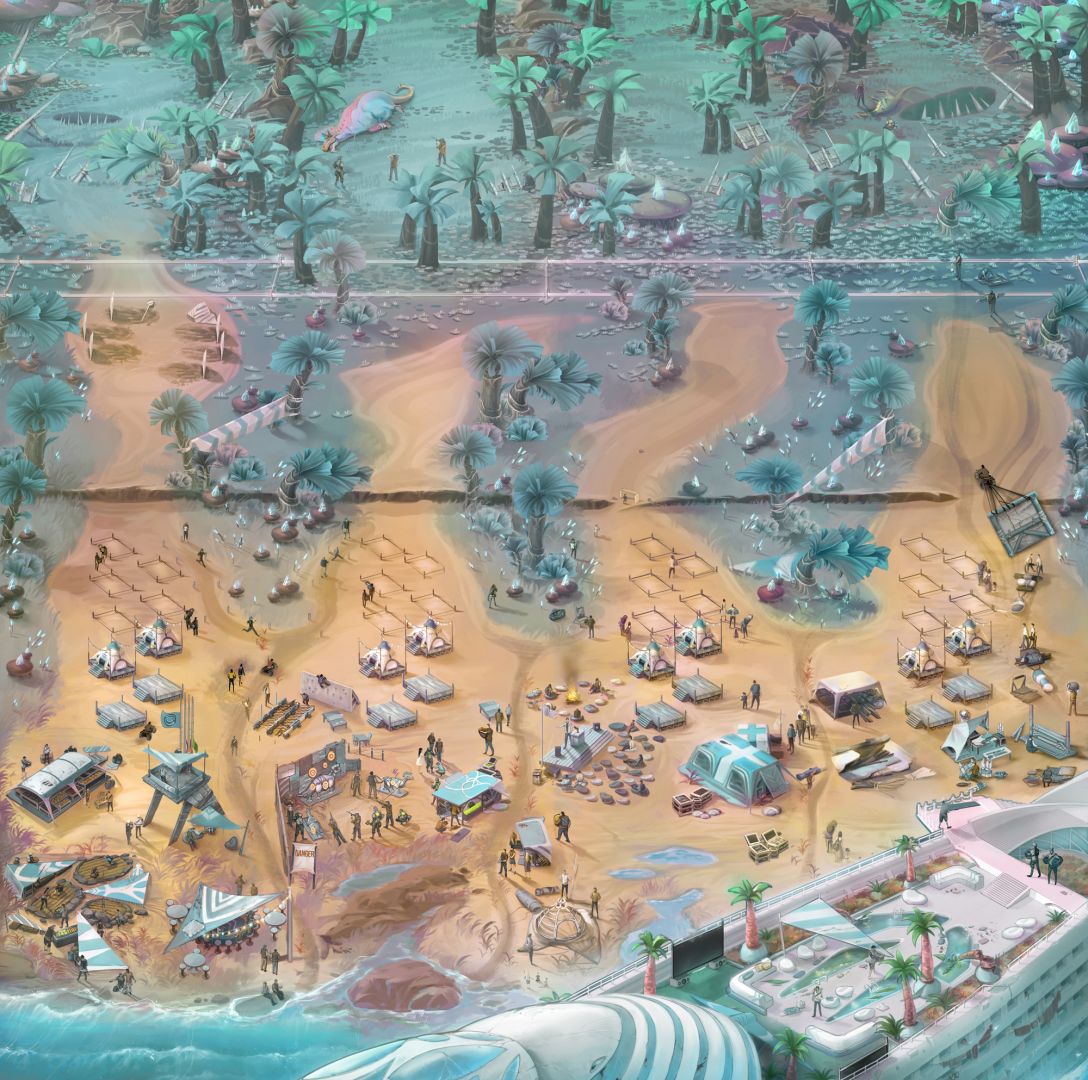
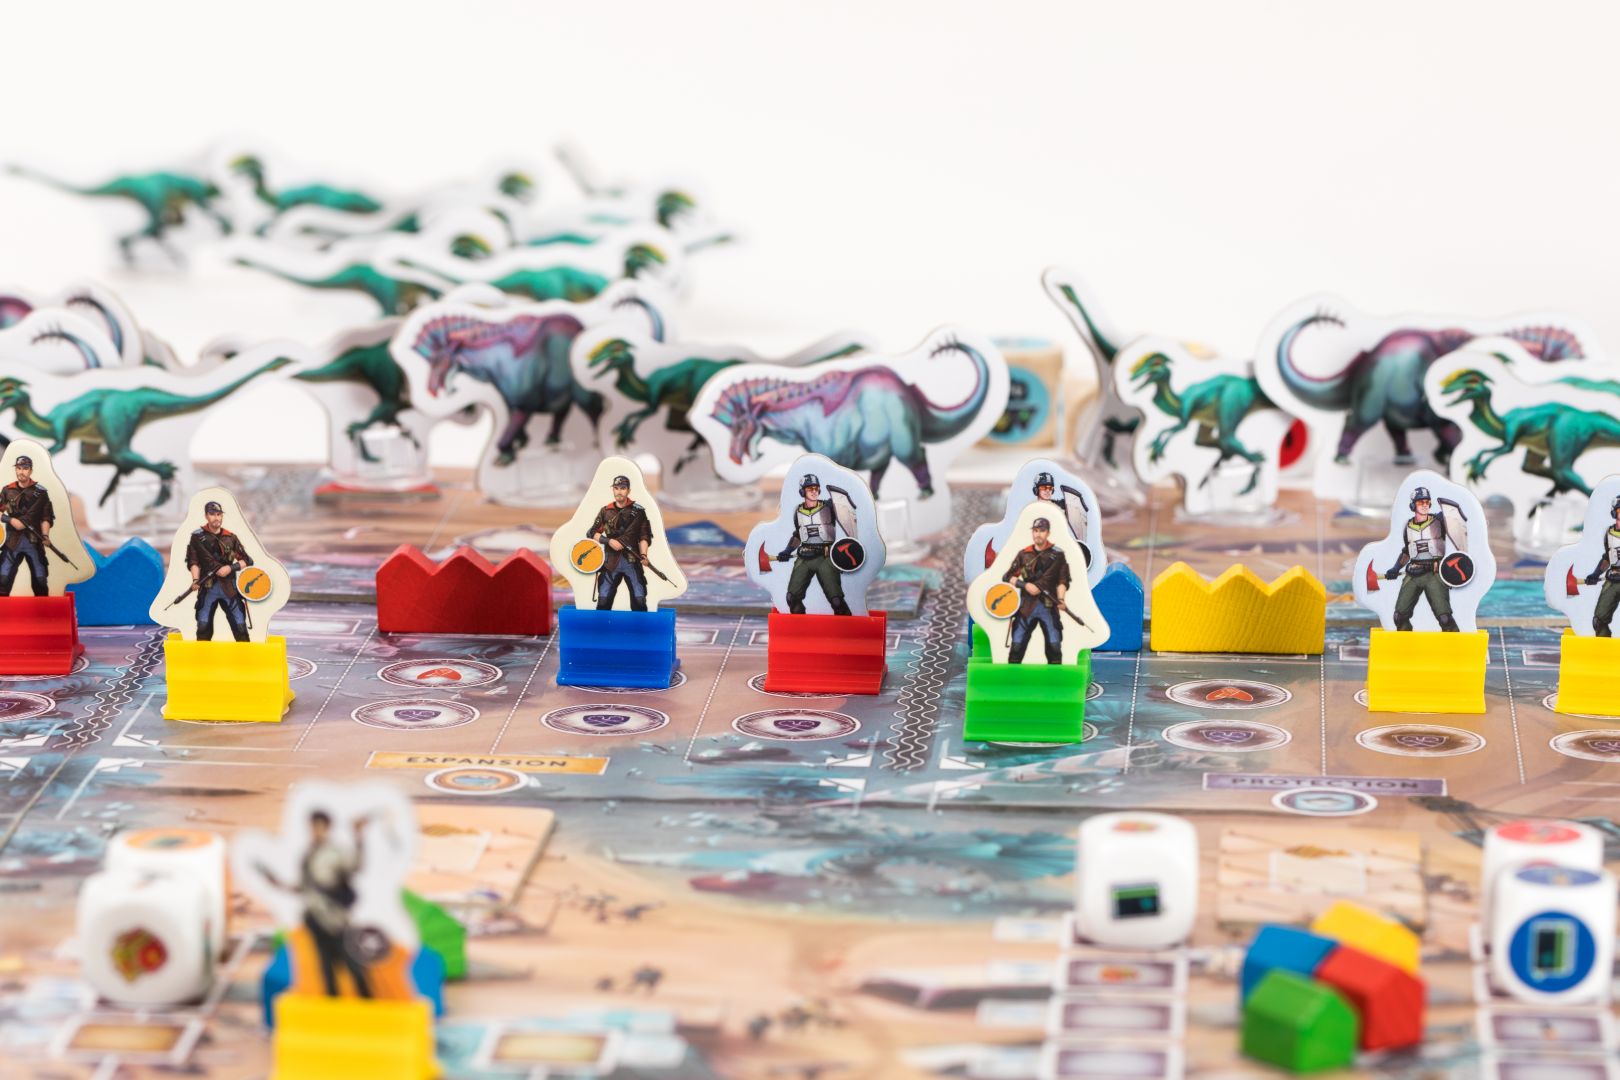
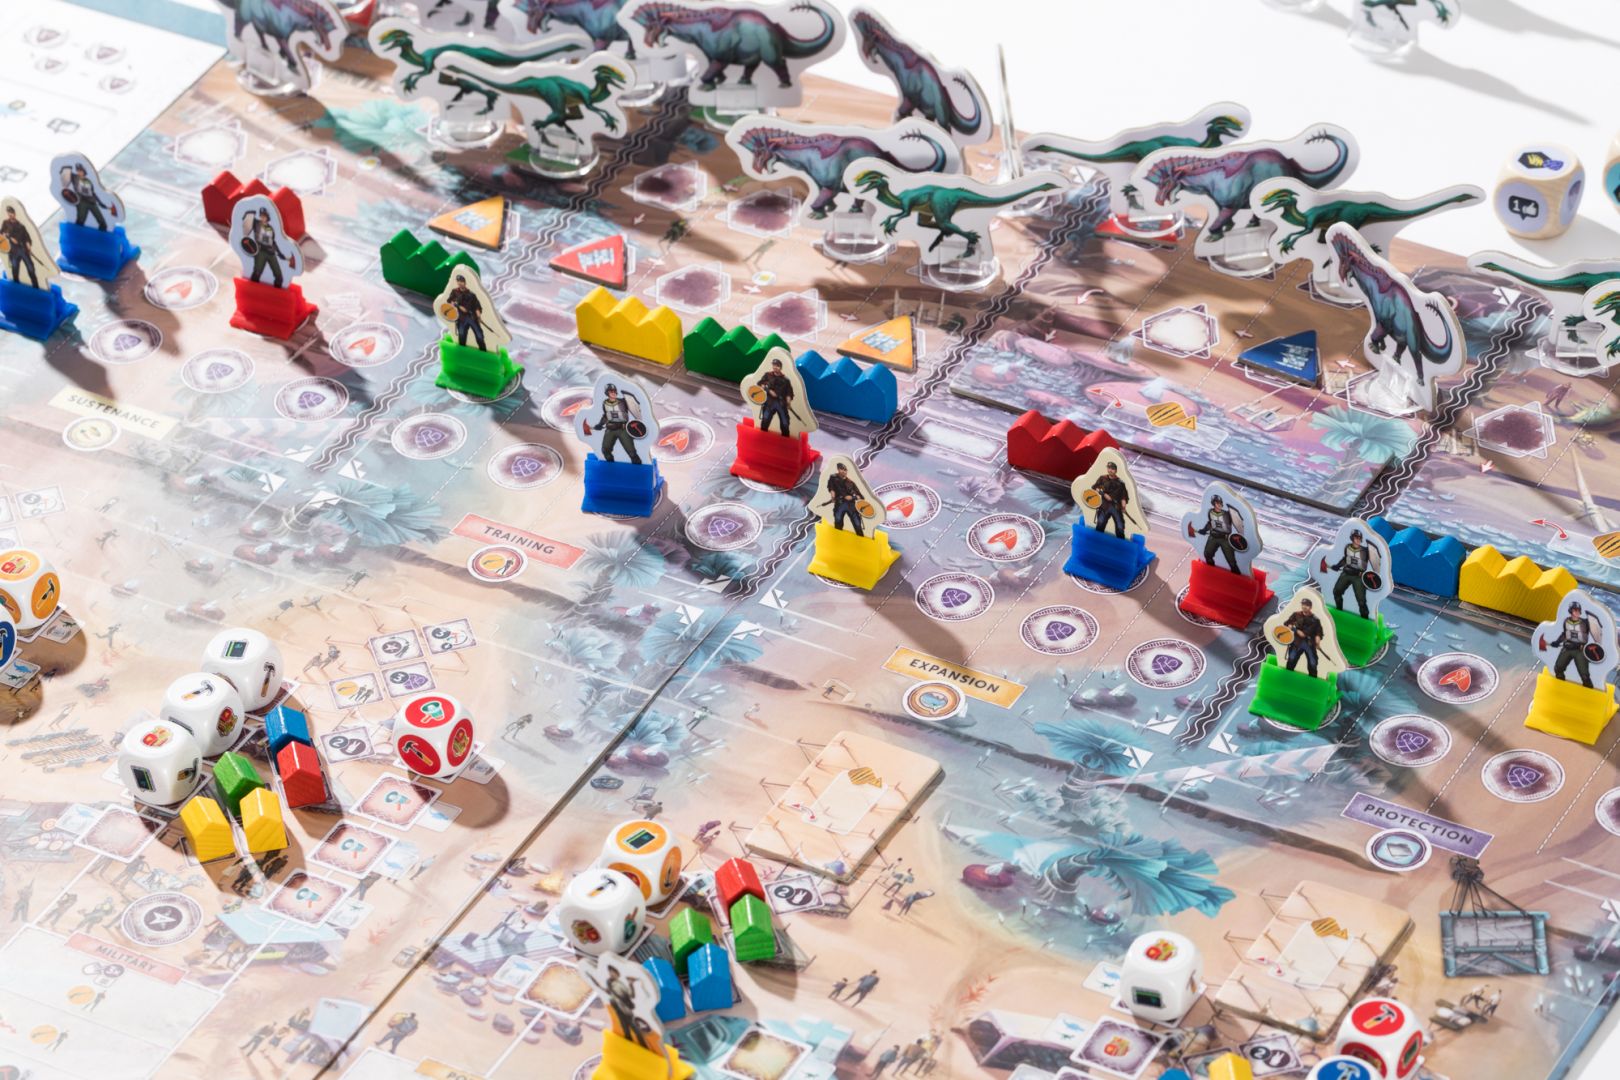
Episode 1 Main Board
If you take a look at the main board, you’ll notice that it is split vertically into two distinct parts: the Community area on the bottom, and the Defense area on top. The city building/power struggle part takes place in the Community area, while the dino/island interaction happens in the Defense area.
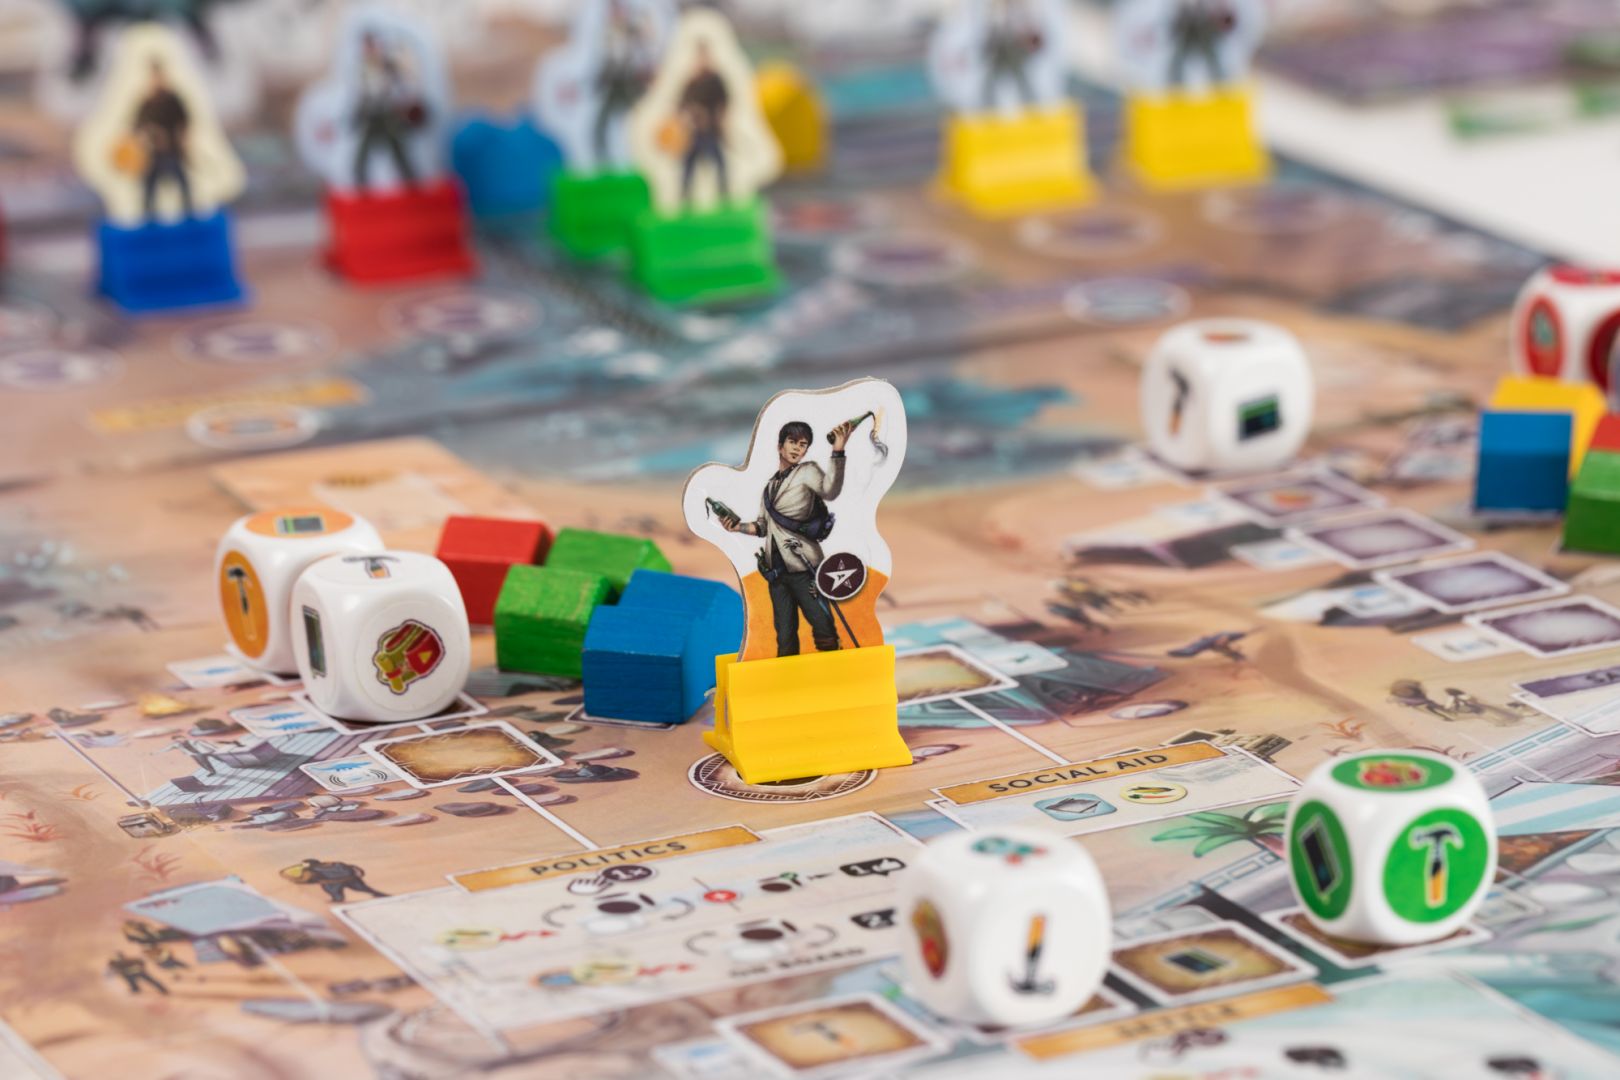
The Community area uses the saga’s core mechanism, dice drafting and dice placement. You, an aspiring leader in the forming community, are entrusted by the ship’s Officers to organize the daily life of the forming society and protect it from the periodic dino attacks. You do this by drafting a die from a pool (representing specialists among the survivors), placing it on a die space in the Community area, and taking the associated Action. Some specialists are better suited for certain tasks than others, with a number of placement spots available only to that type of Specialist die.
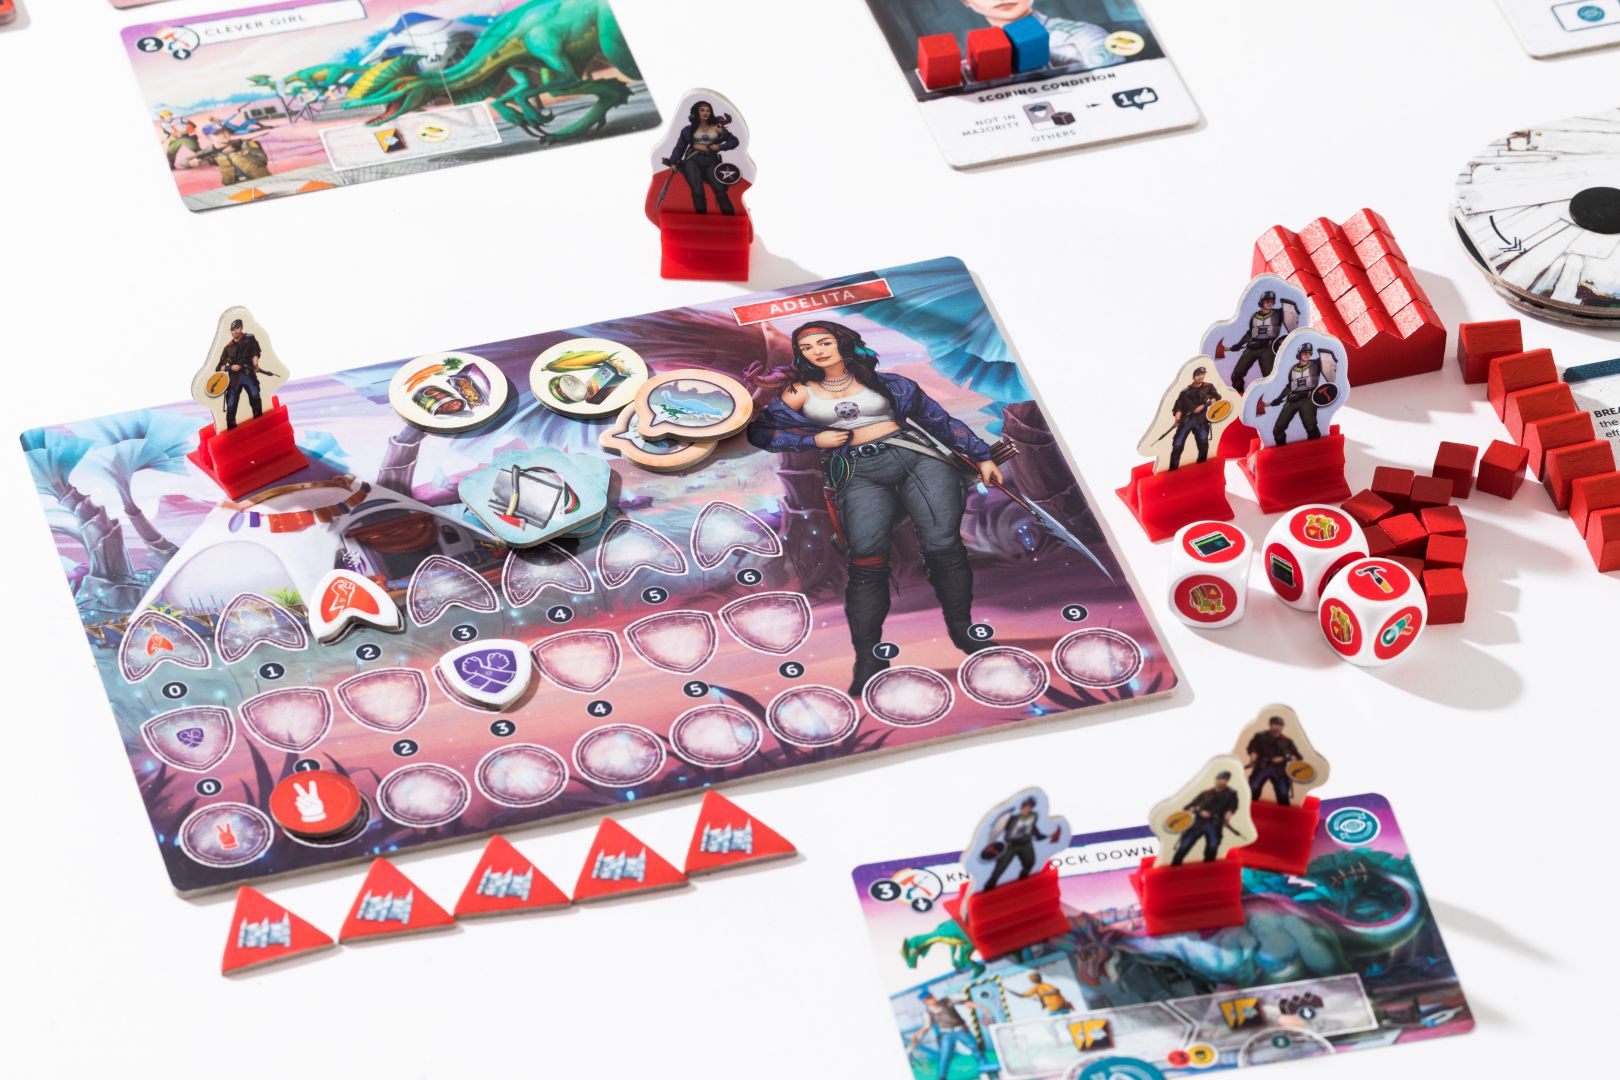
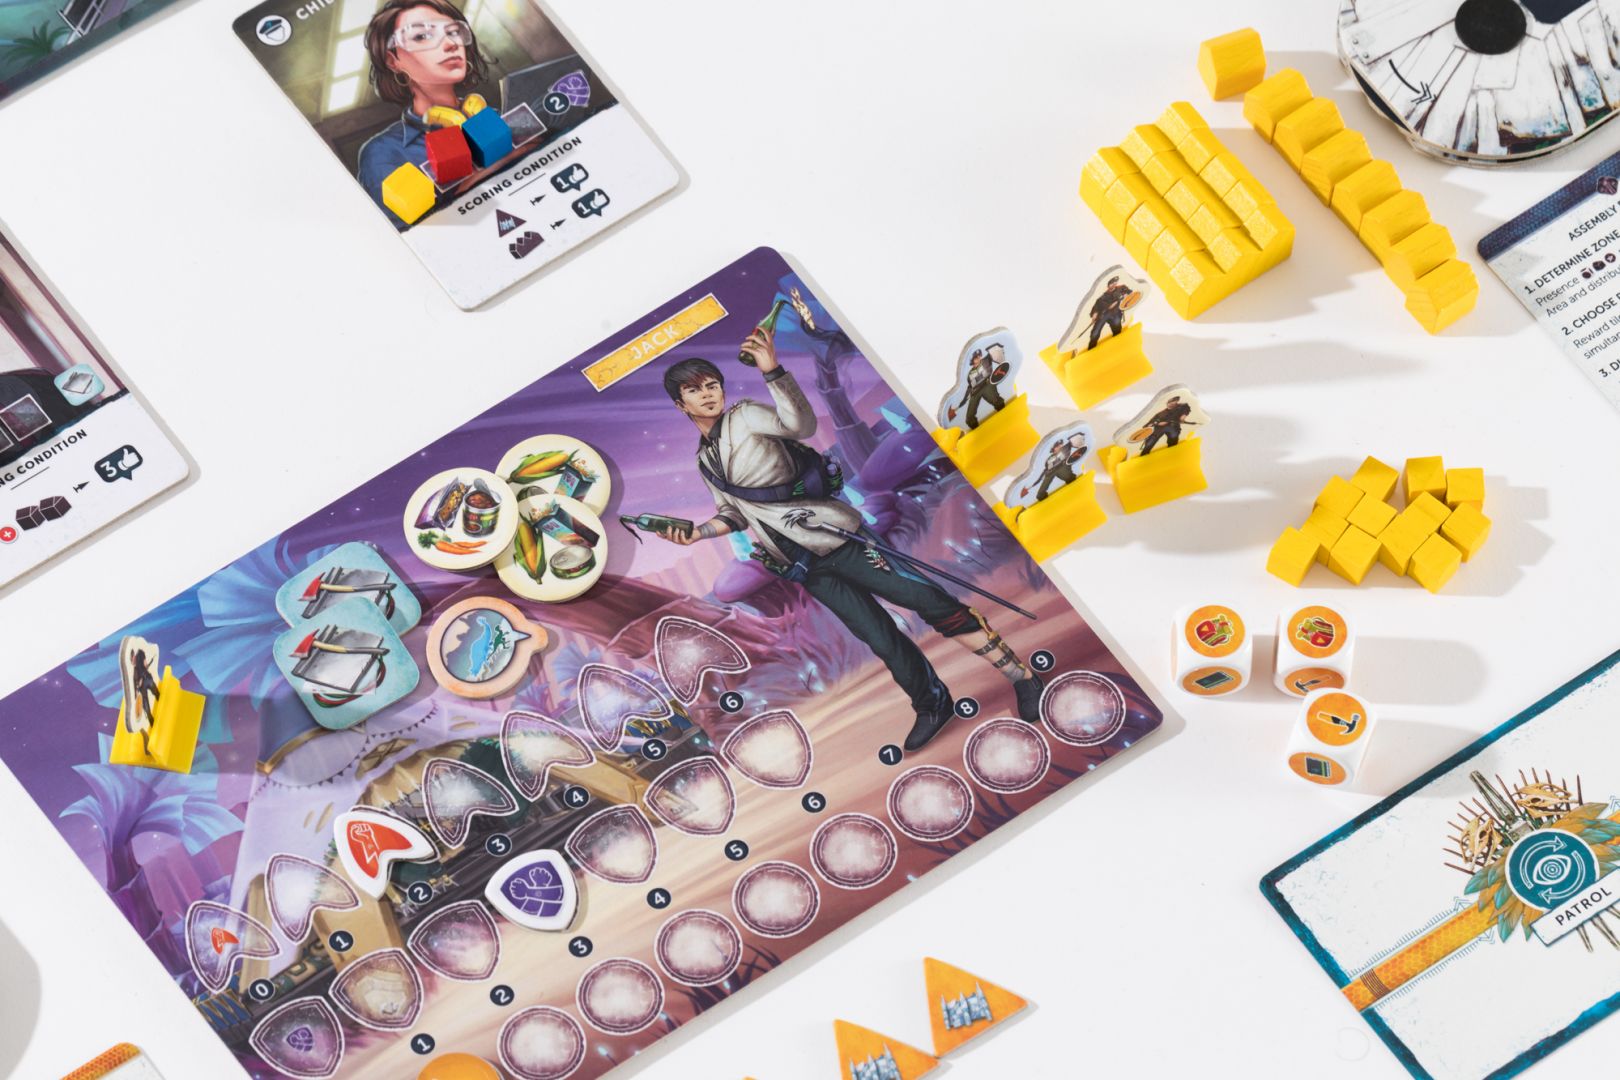
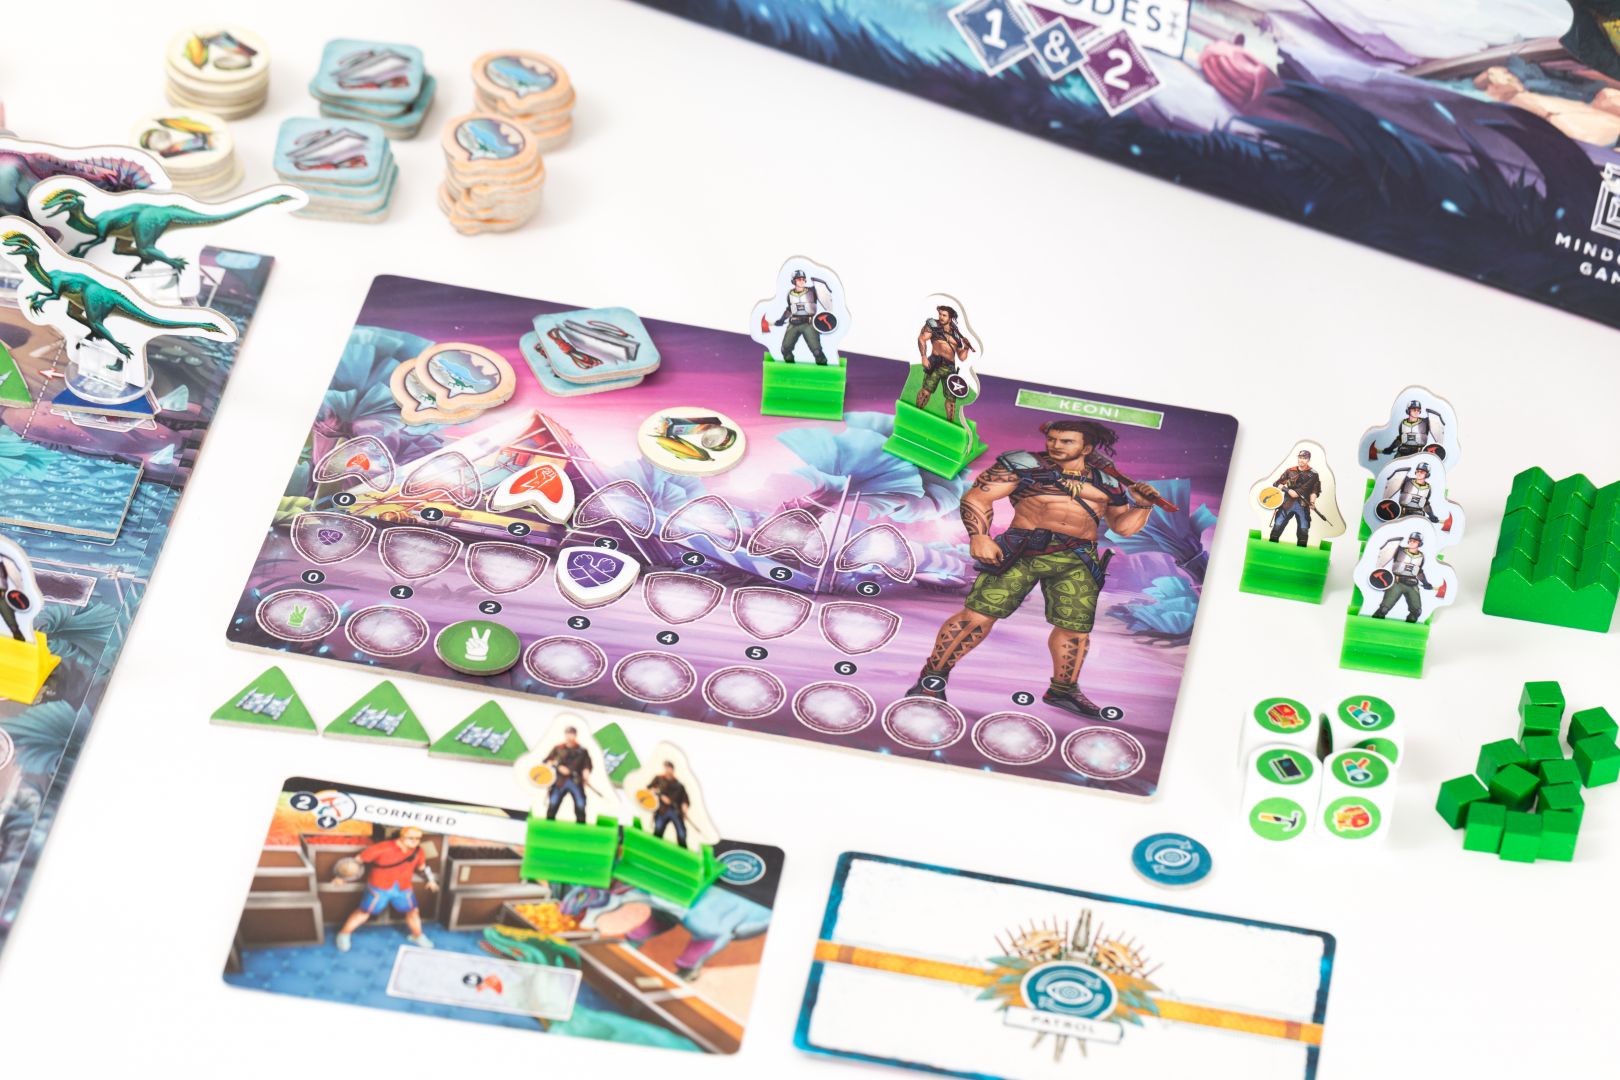

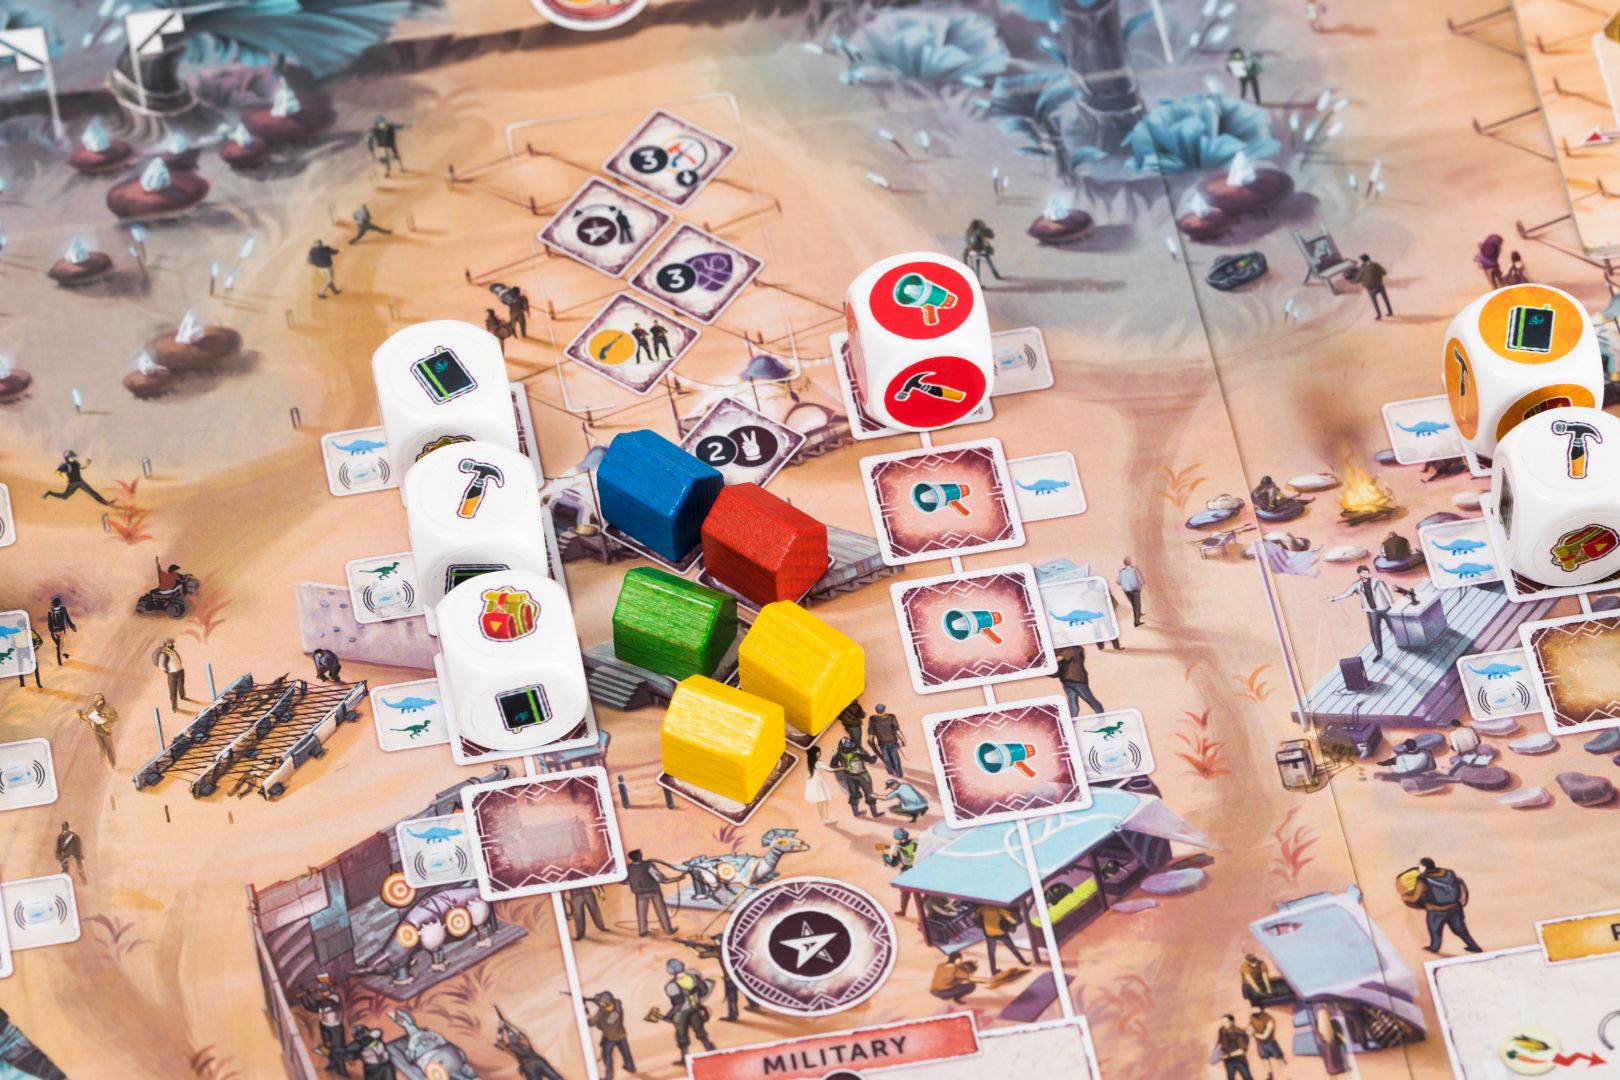
So far this is a straightforward dice placement mechanism that many of you are surely familiar with. The twist is what we call the Assembly, which is essentially a periodic scoring of area majorities. As you take Actions in the Community area, you will want to have some of your own colored pieces in the Community area’s four Districts. You can achieve this by building Settlements for the survivors, placing your Leader figure, or even swaying some of the Specialists into supporting you, replacing a neutral die with a die of your color for the rest of the game!
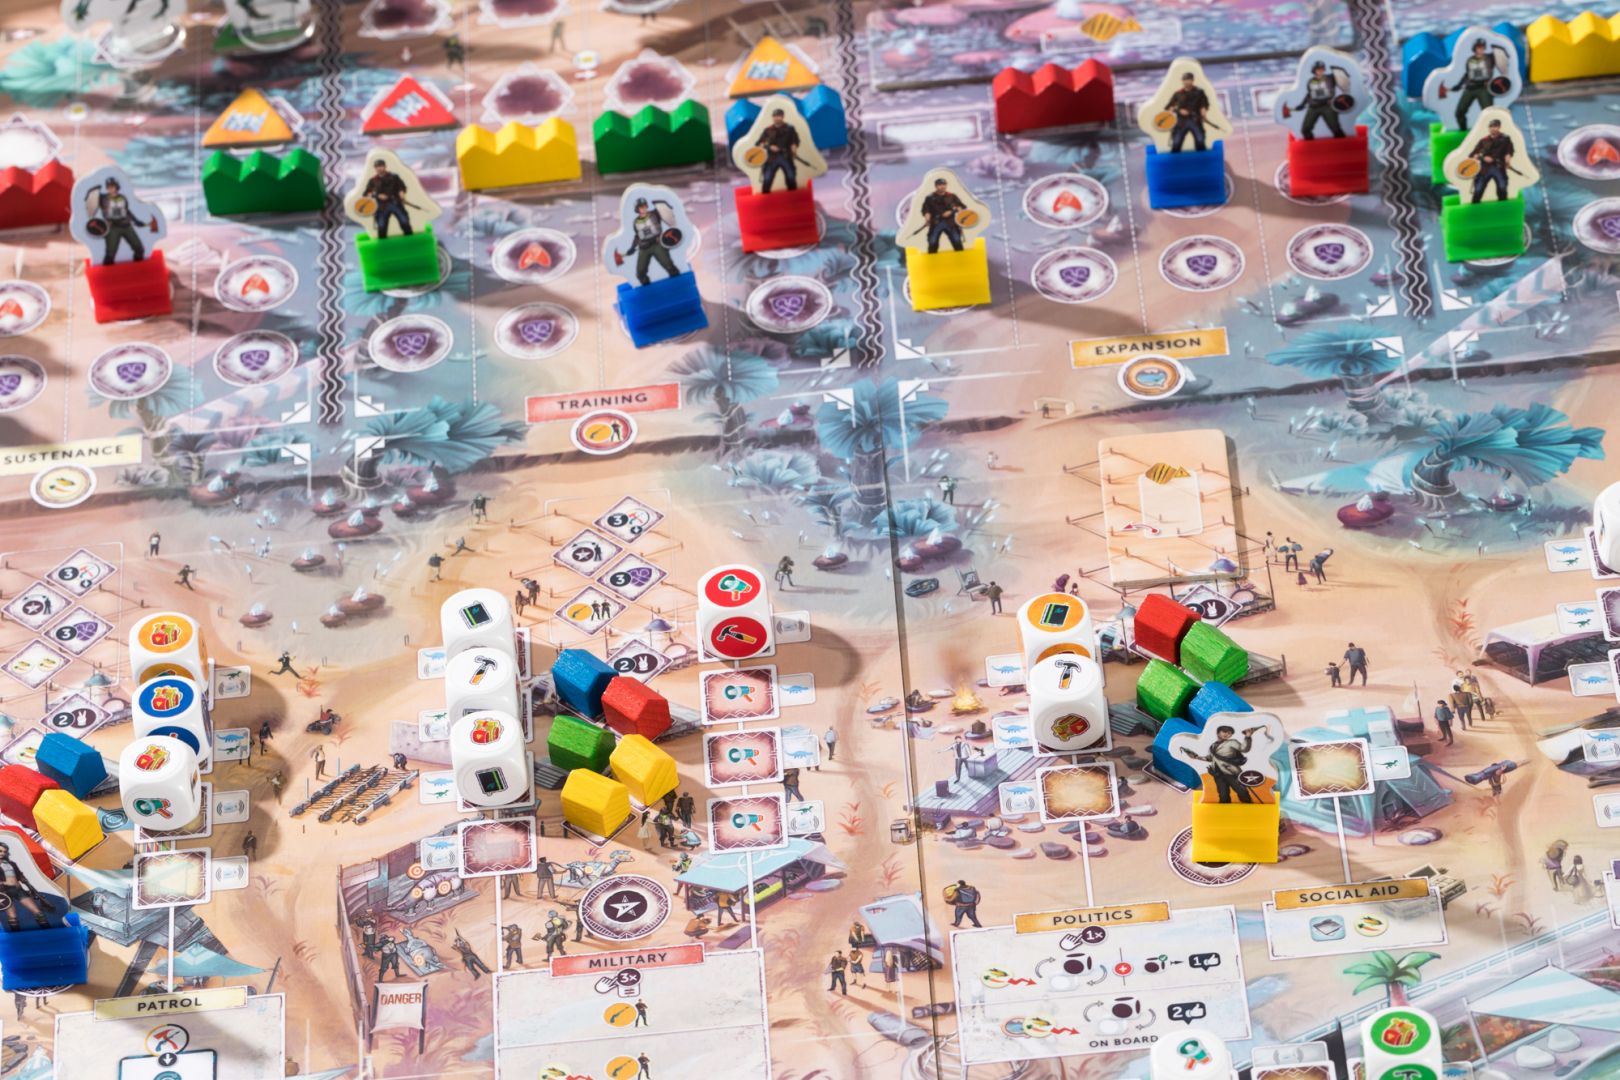
The dice pool consists of a set number of dice and once it runs out, the Assembly occurs. Whoever has the most support (i.e. most colored pieces) in a District can choose to either gain a resource boost specific to that district, or to receive its Votes and try to win the Assembly. This decision is made simultaneously by the players and the amount of Votes each District gives depends on the number of Settlements built there, so each Assembly is an interesting mind game on its own. The Assembly concludes with players with the most Votes gaining a generous amount of Followers (the victory points in Perseverance). The game consists of 2 or 3 Assemblies (depending on player count), and the stakes are higher in each subsequent one!
It is possible to win the game ignoring the Assembly partially or even entirely, but in that case, you will have to take your part in defending the city – after all, building Settlements to garner support is only going to work if said Settlements are not trampled into the ground by rampaging dinosaurs!
Every Action you take in the Community areas attracts a number of dinosaurs that are not very happy about your arrival to the island. Initially, it’s just a few harmless dino sightings in the wilderness, but if enough Tramplers and Raptors (the two types of Dinos in Episode 1) amass, they will eventually attack one of the city’s districts – and when that happens, you will have to fend them off!
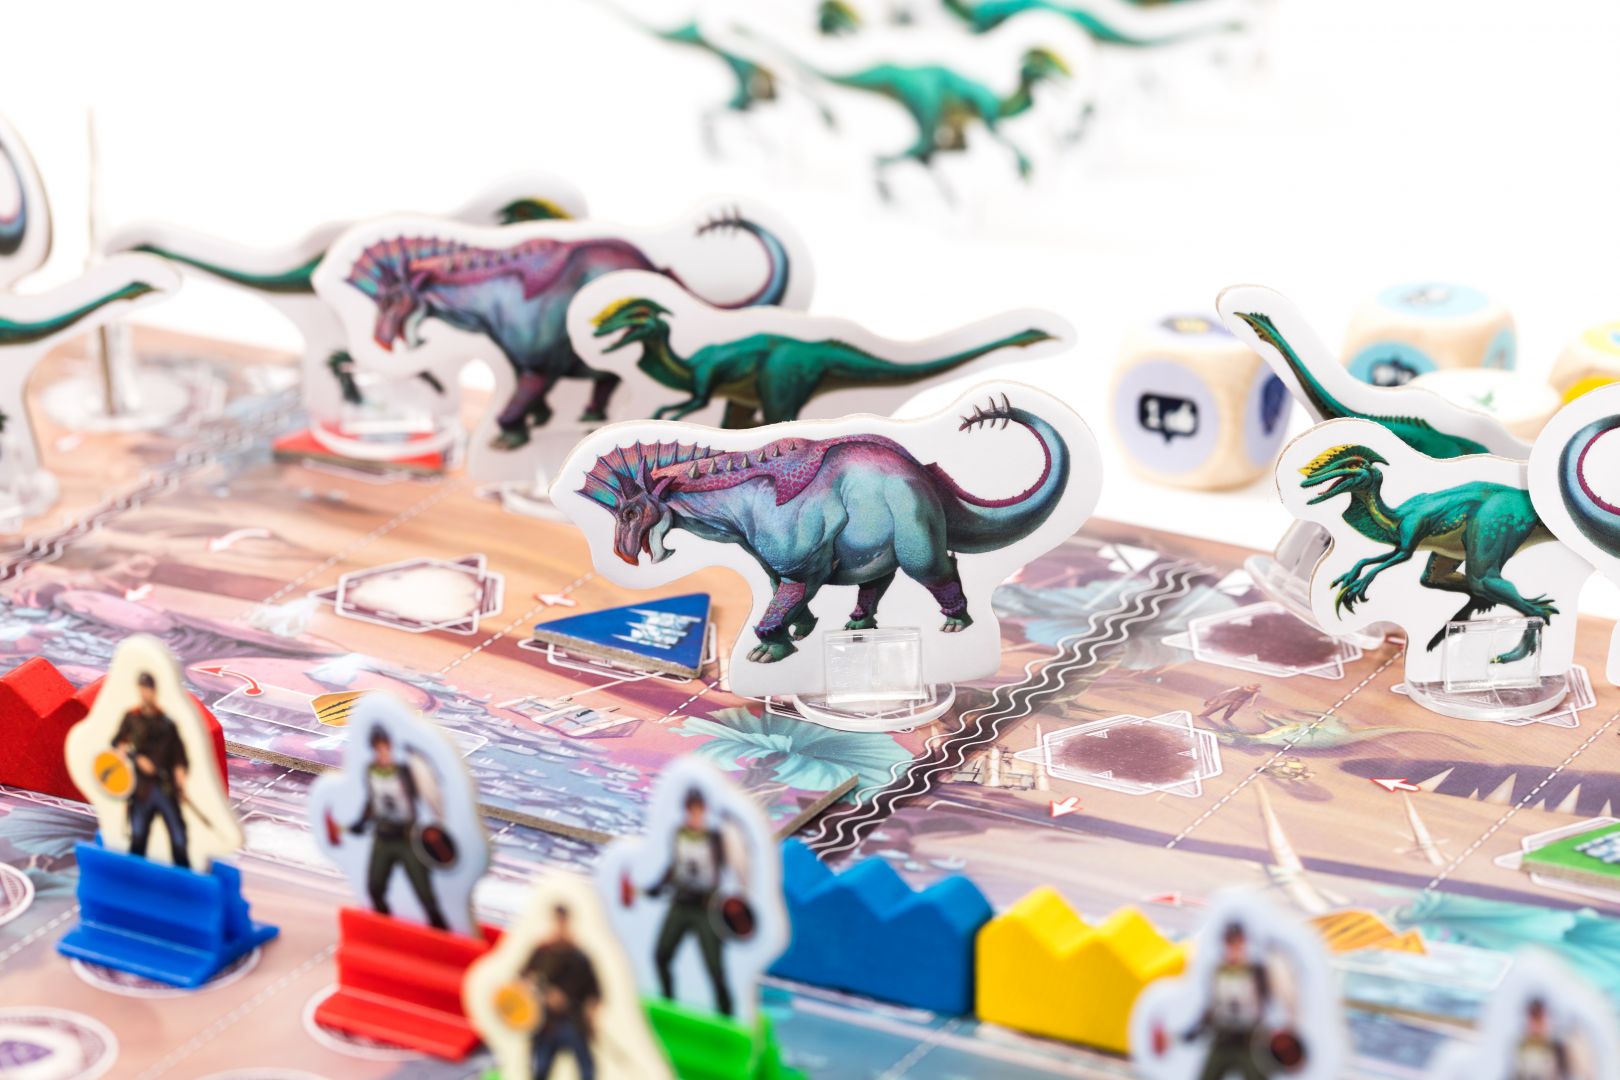
Although Perseverance is a competitive game through and through, the Dino Defense is often a common effort. The motivations behind where and how to defend (or not!) can be quite intricate – which is actually my favourite aspect of Episode 1-, but usually, all participants are rewarded, especially if the defense is successful.
There are three ways to mount defenses against the Dinos:
– Building Walls that are permanent but aren’t always reliable,
– Laying Traps that are cheap but are single-use and only work well against one type of dino,
– Training and rallying Soldiers – they are reliable and powerful, but they will perish if they fight a Raptor
Reading through this list begs the question: what exactly does “reliable” mean? It means that Traps and Walls add a little randomness to the defense – they each have a respective die, and there is a small chance that they will fail during a dino attack. However, this is not the case for Soldiers – Light and Heavy Soldiers will always fend off 1 or 2 Dinos, respectively. I know that the element of randomness can be intimidating to some, but we did experiment with a lot of different versions, including a fully deterministic system, and this one is just way more exciting. Also, there is room to play fully risk-aversely, since placing a Light and a Heavy Soldier will always be enough to fend off all Dinos in a column, even without any Walls and Traps.
Depending on the outcome of the fight, some Dinos might break through the defenses and attack the Settlements in the Community area, from top to bottom – Tramplers destroy them, while Raptors cause their owners to lose Followers. This is one of the several points where the Defense and Community areas are entwined – even if you care more about your political career than defending the city, sometimes you reeeally don’t want that Trampler to get through and destroy that one key settlement of yours right before the Assembly… 🙂
While the Dino Attack mechanism itself gets replaced in Episode 2, some of its rules (such as how the Soldiers vs Dinos fight works) will get carried over, making the “Island interaction” part of subsequent Episodes much easier to learn.
I hope you enjoyed this little sneak peek at the two core mechanisms of Episode 1 – there’s more to it that I haven’t covered, such as secondary actions and Officer influence, but I’ll leave those to you to discover! If this piqued your interest, you’ll be able to try Episode 1 on Tabletopia in just a few days, once the campaign launches. Thanks for reading and see you next time, when we’ll take a look at Episode 2!
Until next time,
Viktor